As many of you know, I spent a full 10 days eating and drinking three times a day in Israel with VIBE Israel and four other vegan bloggers. It was the most amazing, eye-opening trip and I recommend everybody visits Israel ASAP! Because it was first and foremost a food tour, highlighting all the various aspects of Israeli cuisine (it is a melting pot of so many cultures!), we visited A LOT of vegan restaurants. And after the week-long trip was done, my hubsby met me in Tel Aviv and we continued on the hummus-and-falafel filled journey just the two of us.
Tel Aviv is widely considered the vegan capital of the world - by one estimate there are at least 400 vegan and vegetarian restaurants there. I thought that the food was very good in all the restaurants that I visited during my time there, but here’s a more compact list of great vegan restaurants (or regular restaurants with amazing vegan food) that I consider must-visits when in Tel Aviv:
416
416 is a restaurant that has it all - tasty vegan food (including the most incredible mock meats!), great, ambiance and very tasty cocktails. It is a mixture of American and Israeli cuisines and the result is mind-blowing!
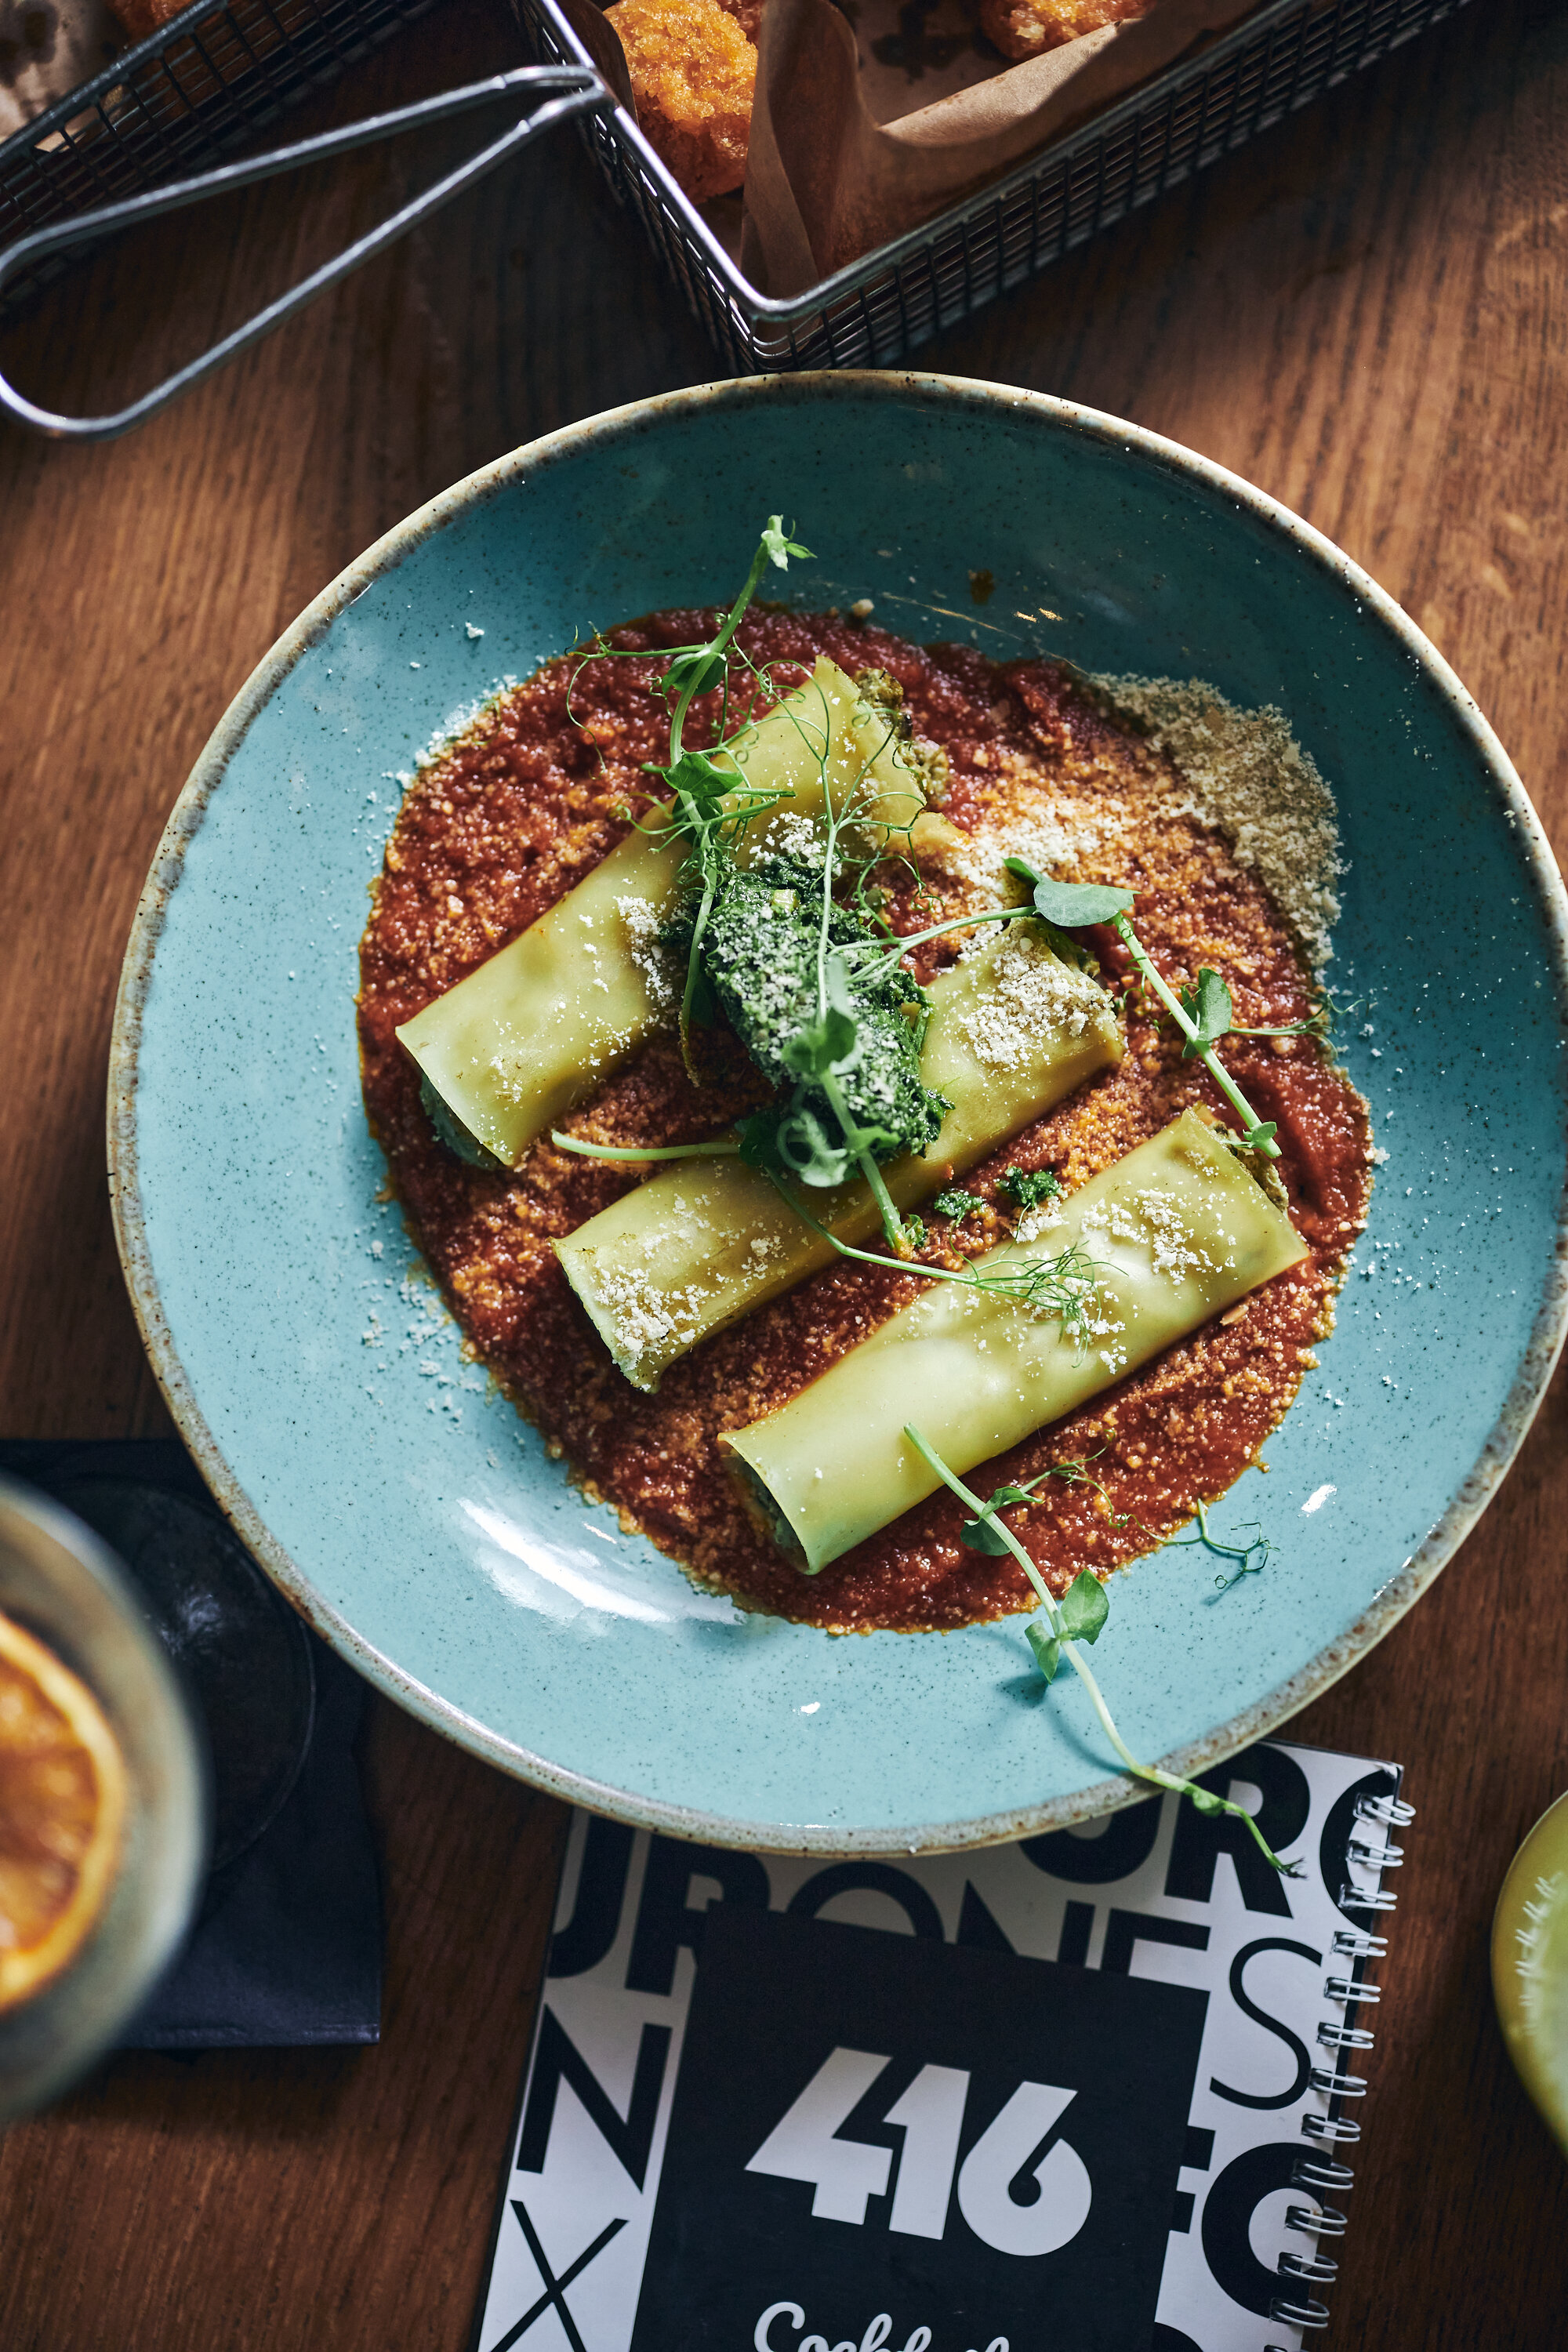
Photo by Amir Menahem

Photo by Amir Menahem
OPA
This is one of the restaurants that surprised me the most. Vegan fine-dining with incredible flavours and textures! I love everything fermented and a lot of their savoury dishes had those aspects in them. But my favourite dish of the night was the chocolate and hazelnut dessert - to die for!

Photo by Amir Menahem

Photo by Amir Menahem
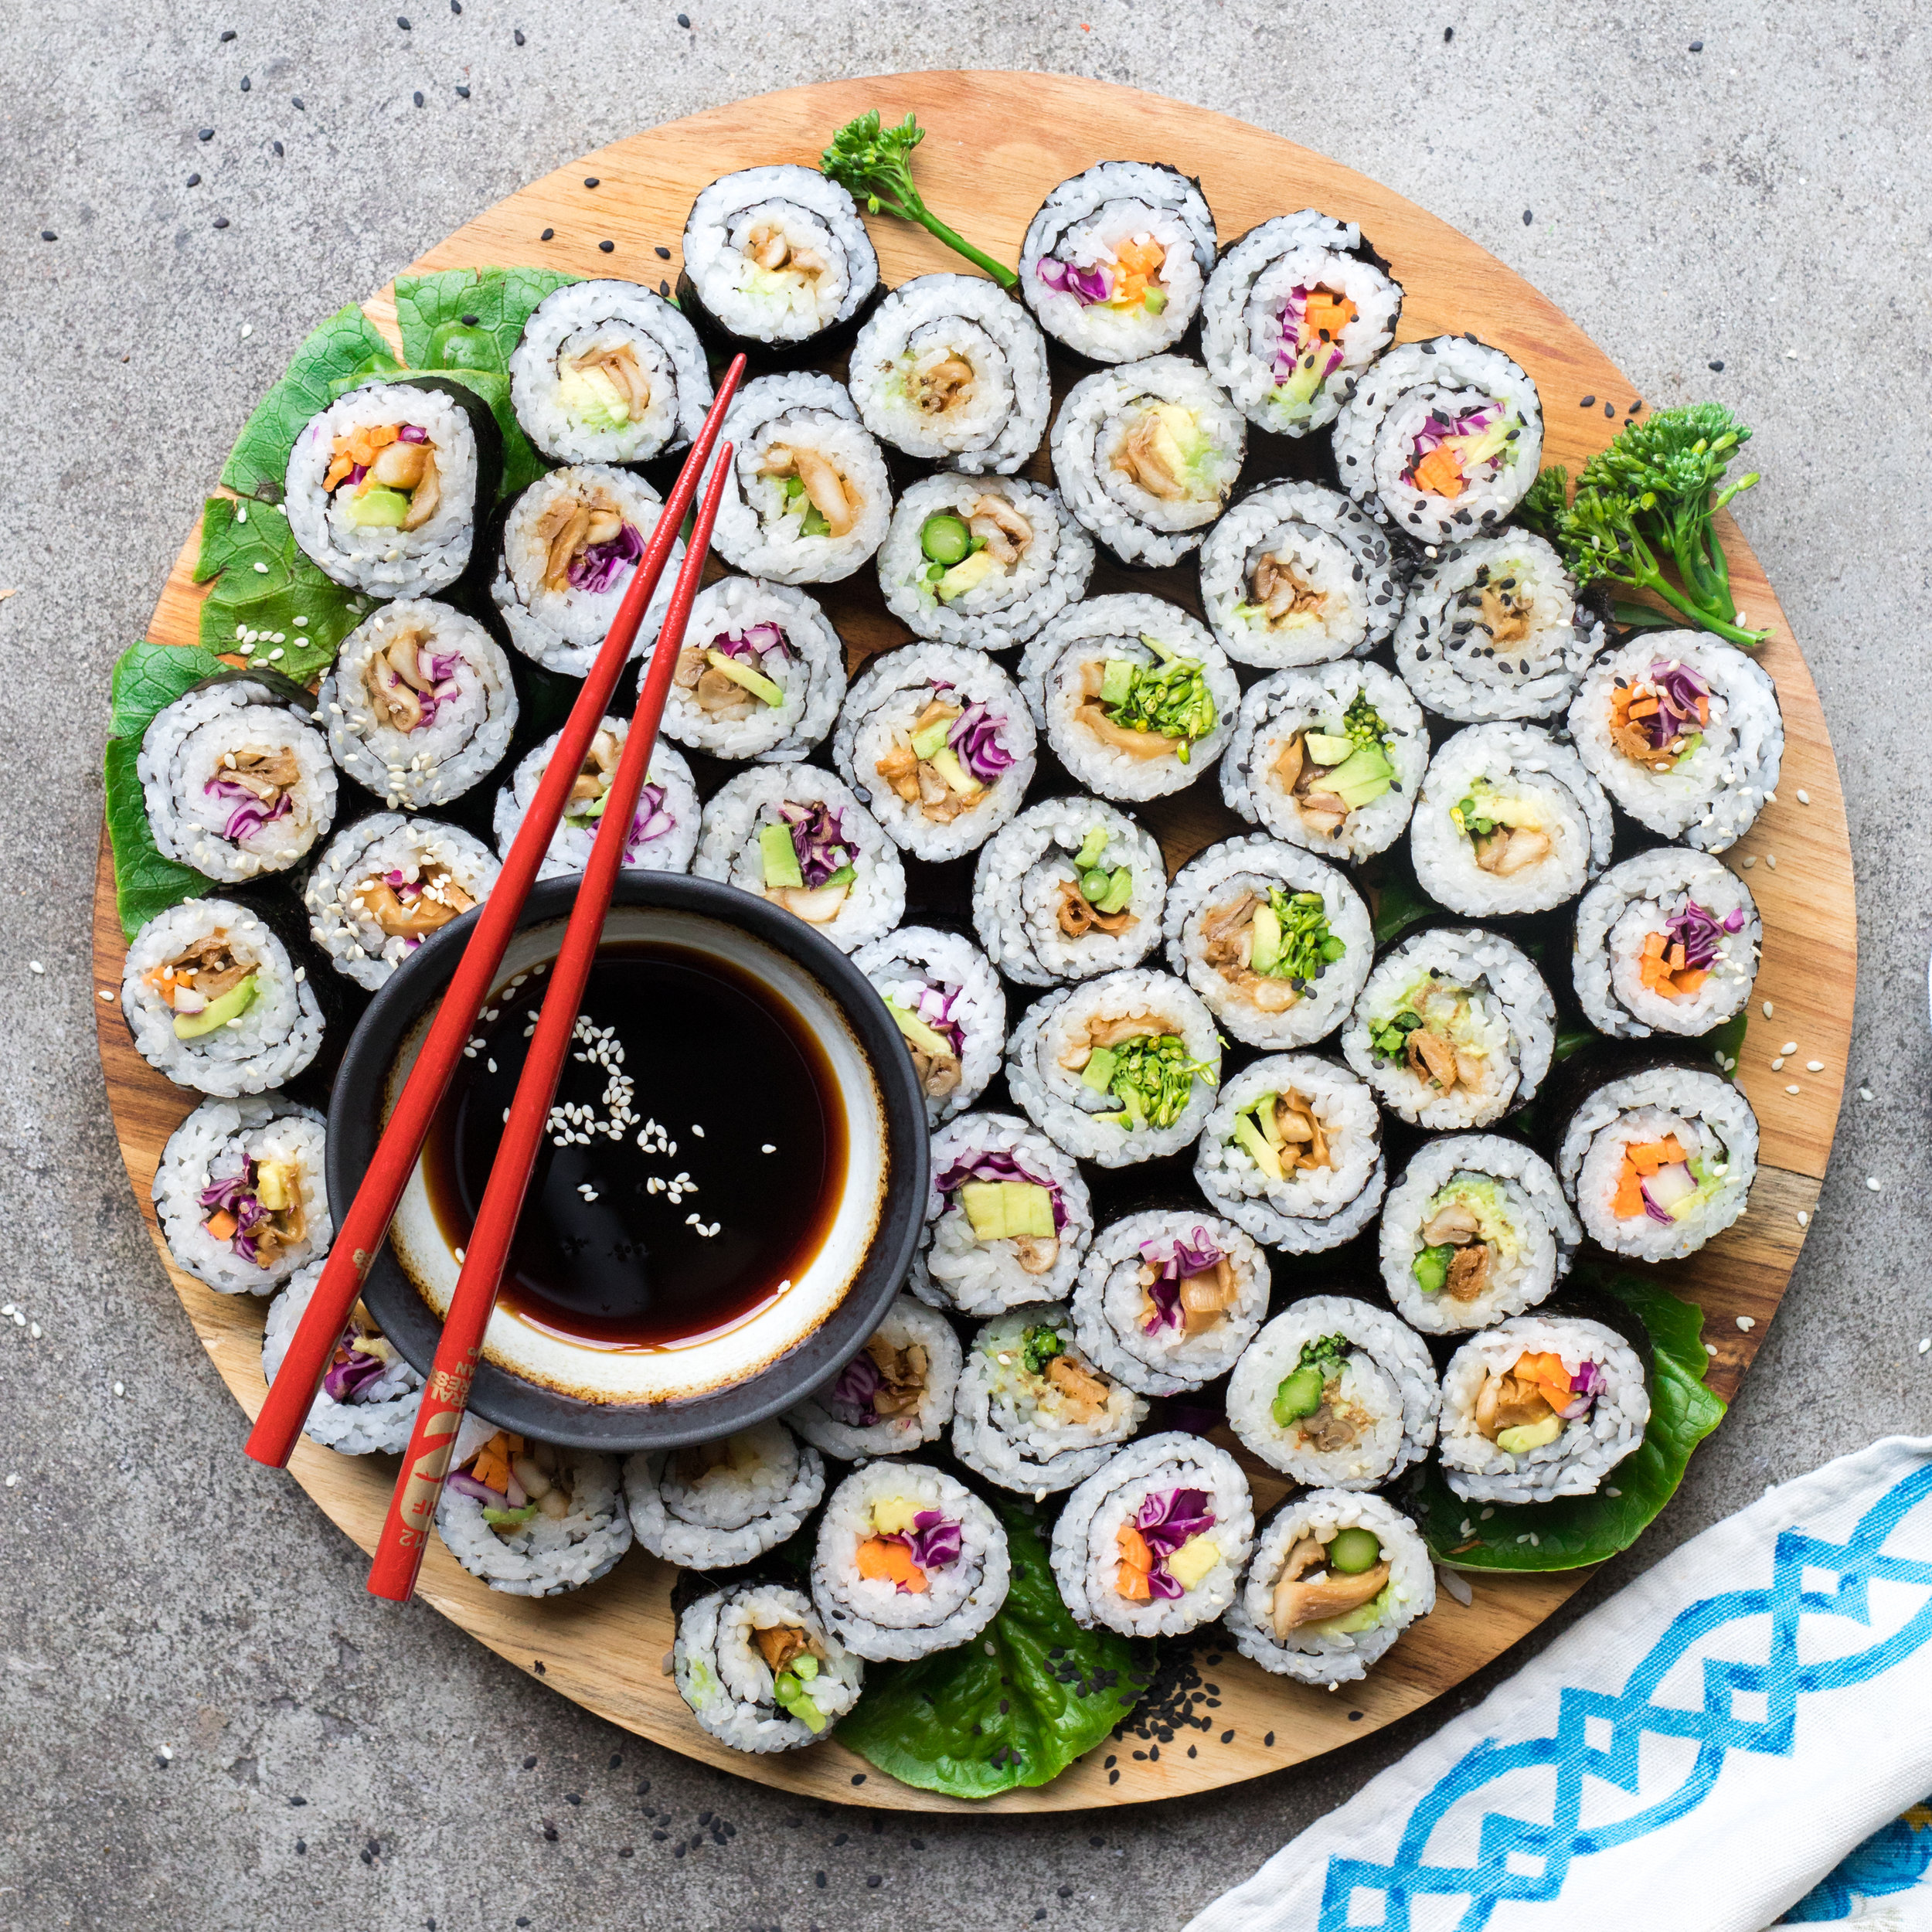
Green Roll Sushi
This is definitely not your average sushi. Firstly, because it is fully vegan and secondly, because it is definitely the most over-the-top sushi I’ve ever seen. Imagine maki rolls with crispy sweet potato crumbs and spicy vegan mayo, plated gorgeously with edible flowers. A veggie foodie’s dream!

Frishman Sabich
A few of you have already become aware of my love for this Tel Aviv street food through this blog post but if you’re in Israel then you have to try the one from Frishman Sabich. In addition to the sabich they also have falafel sandwiches and even a sabich-falafel combo. During my food tour of the city I tried a few different ones but this was definitely my favourite AND they have reusable metal plates for pickles, so they use less plastic!
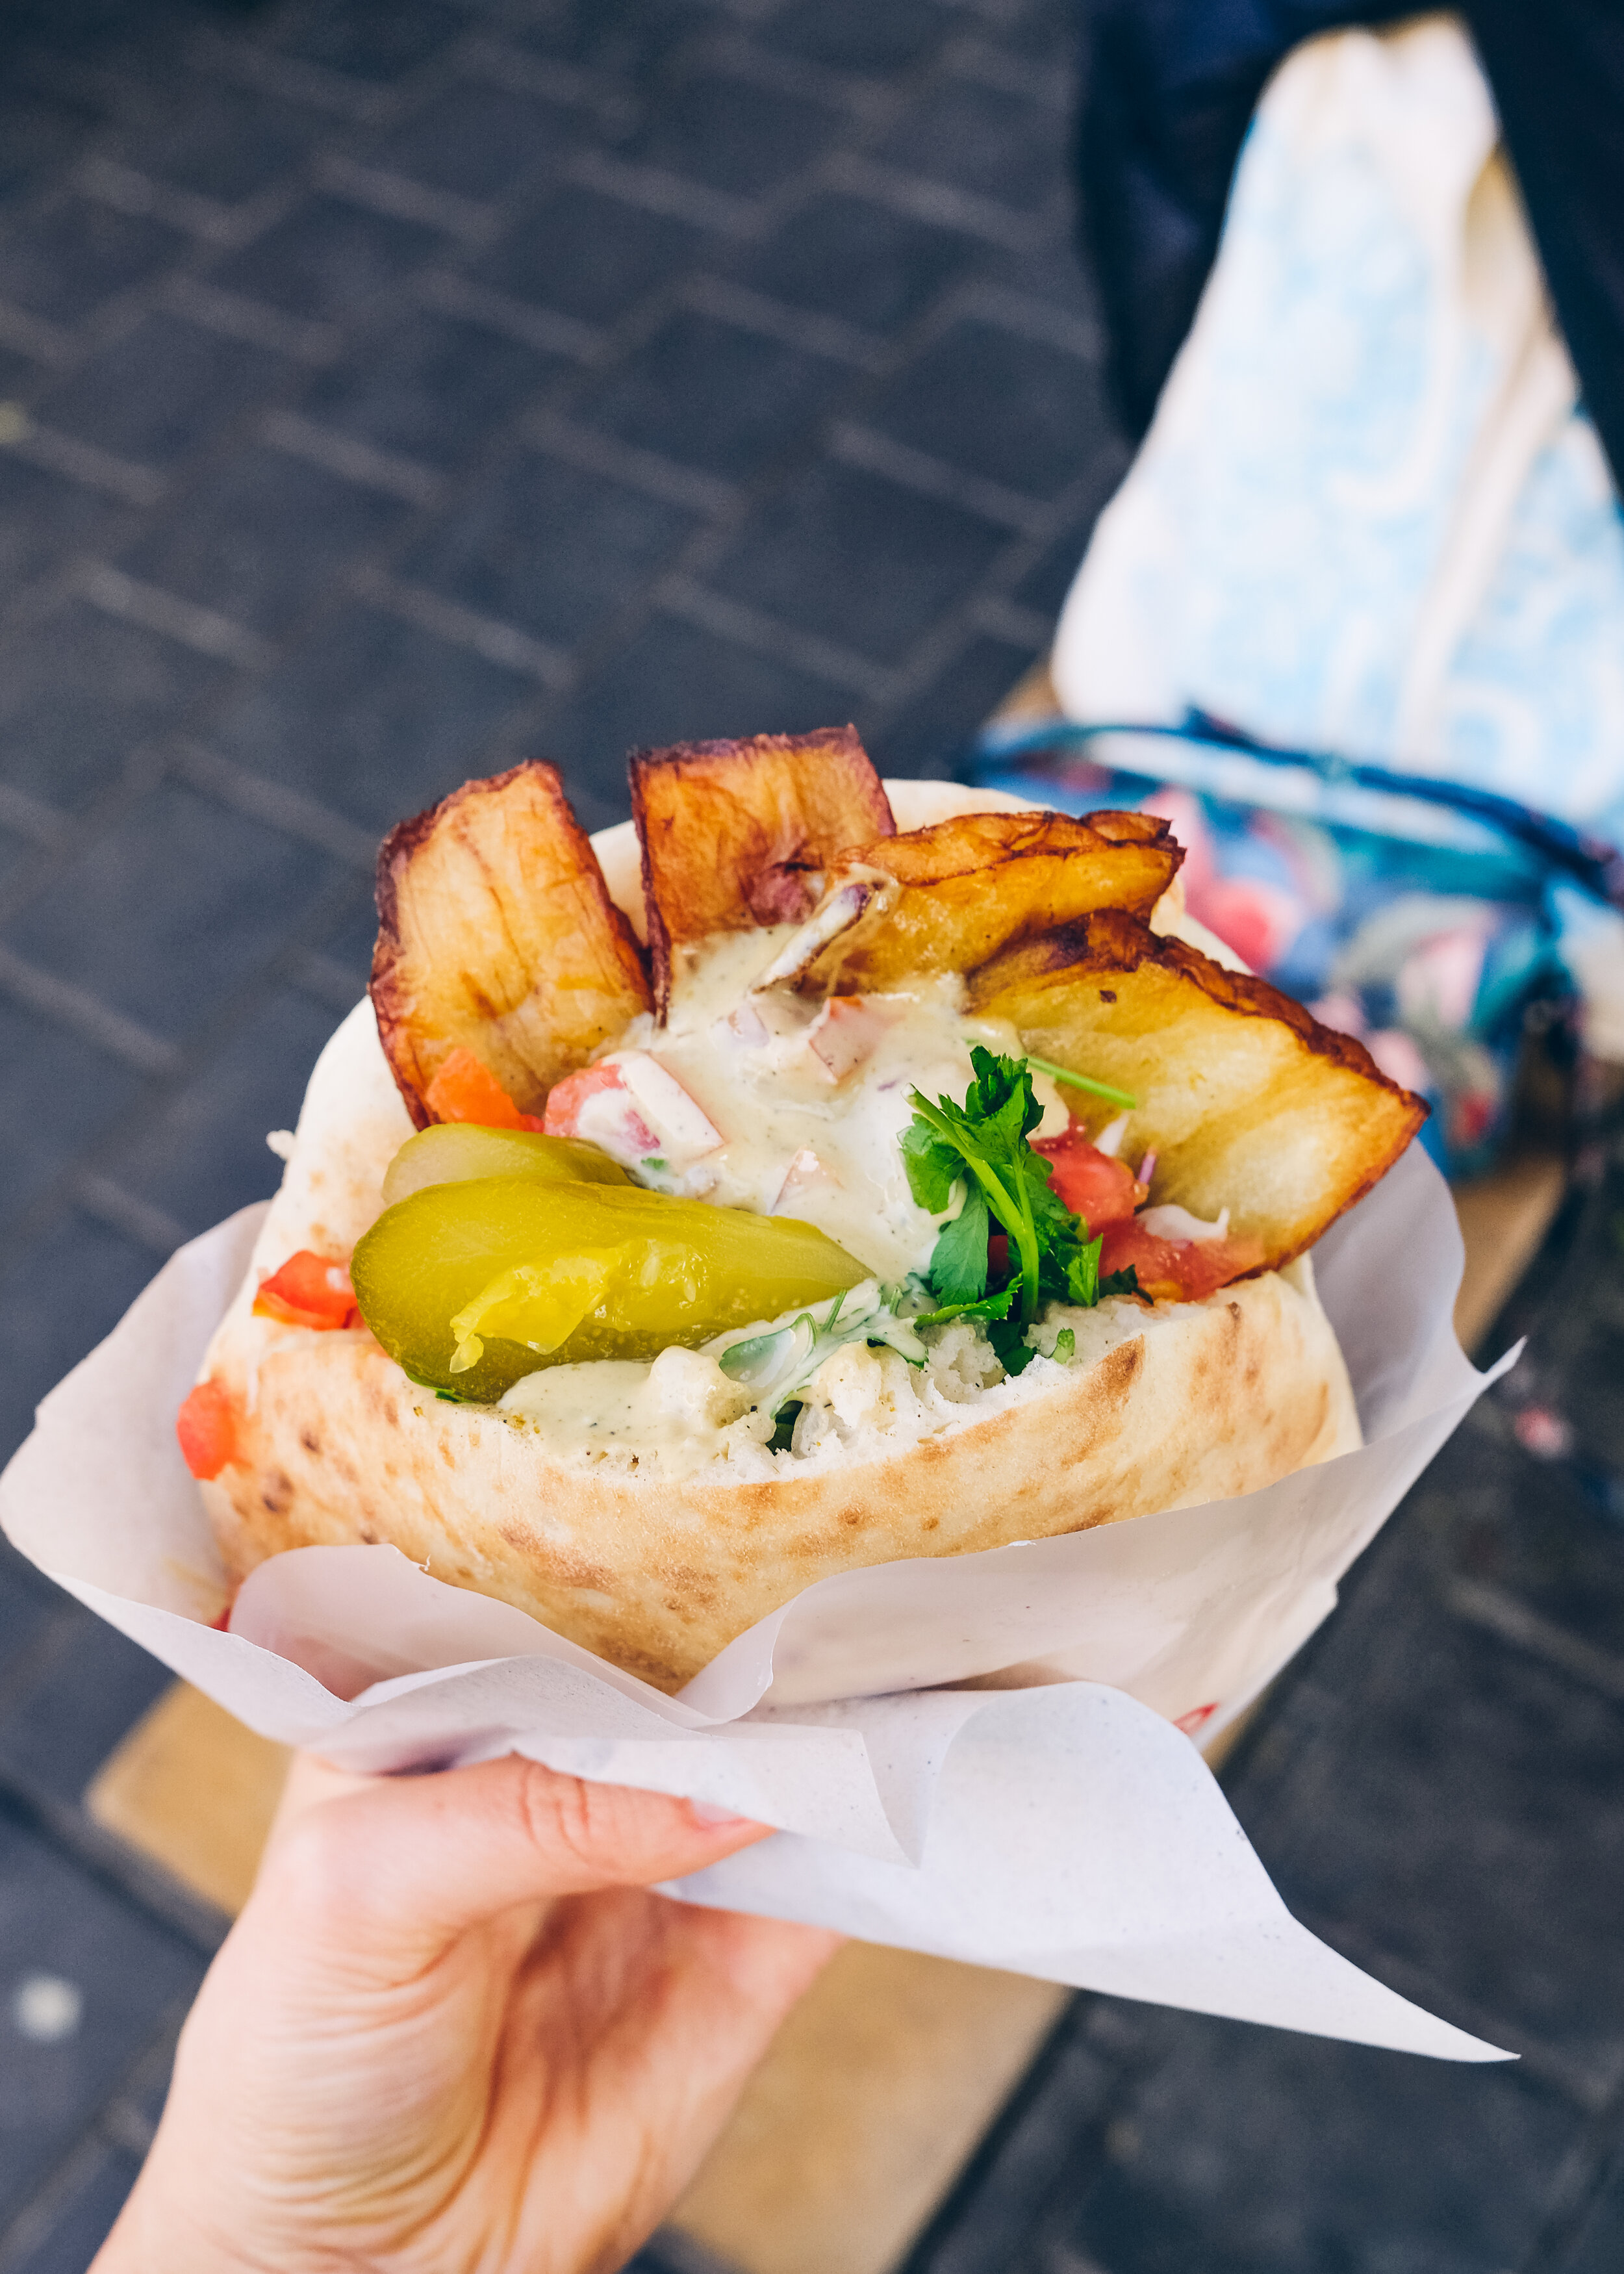
Photo by Anett Velsberg
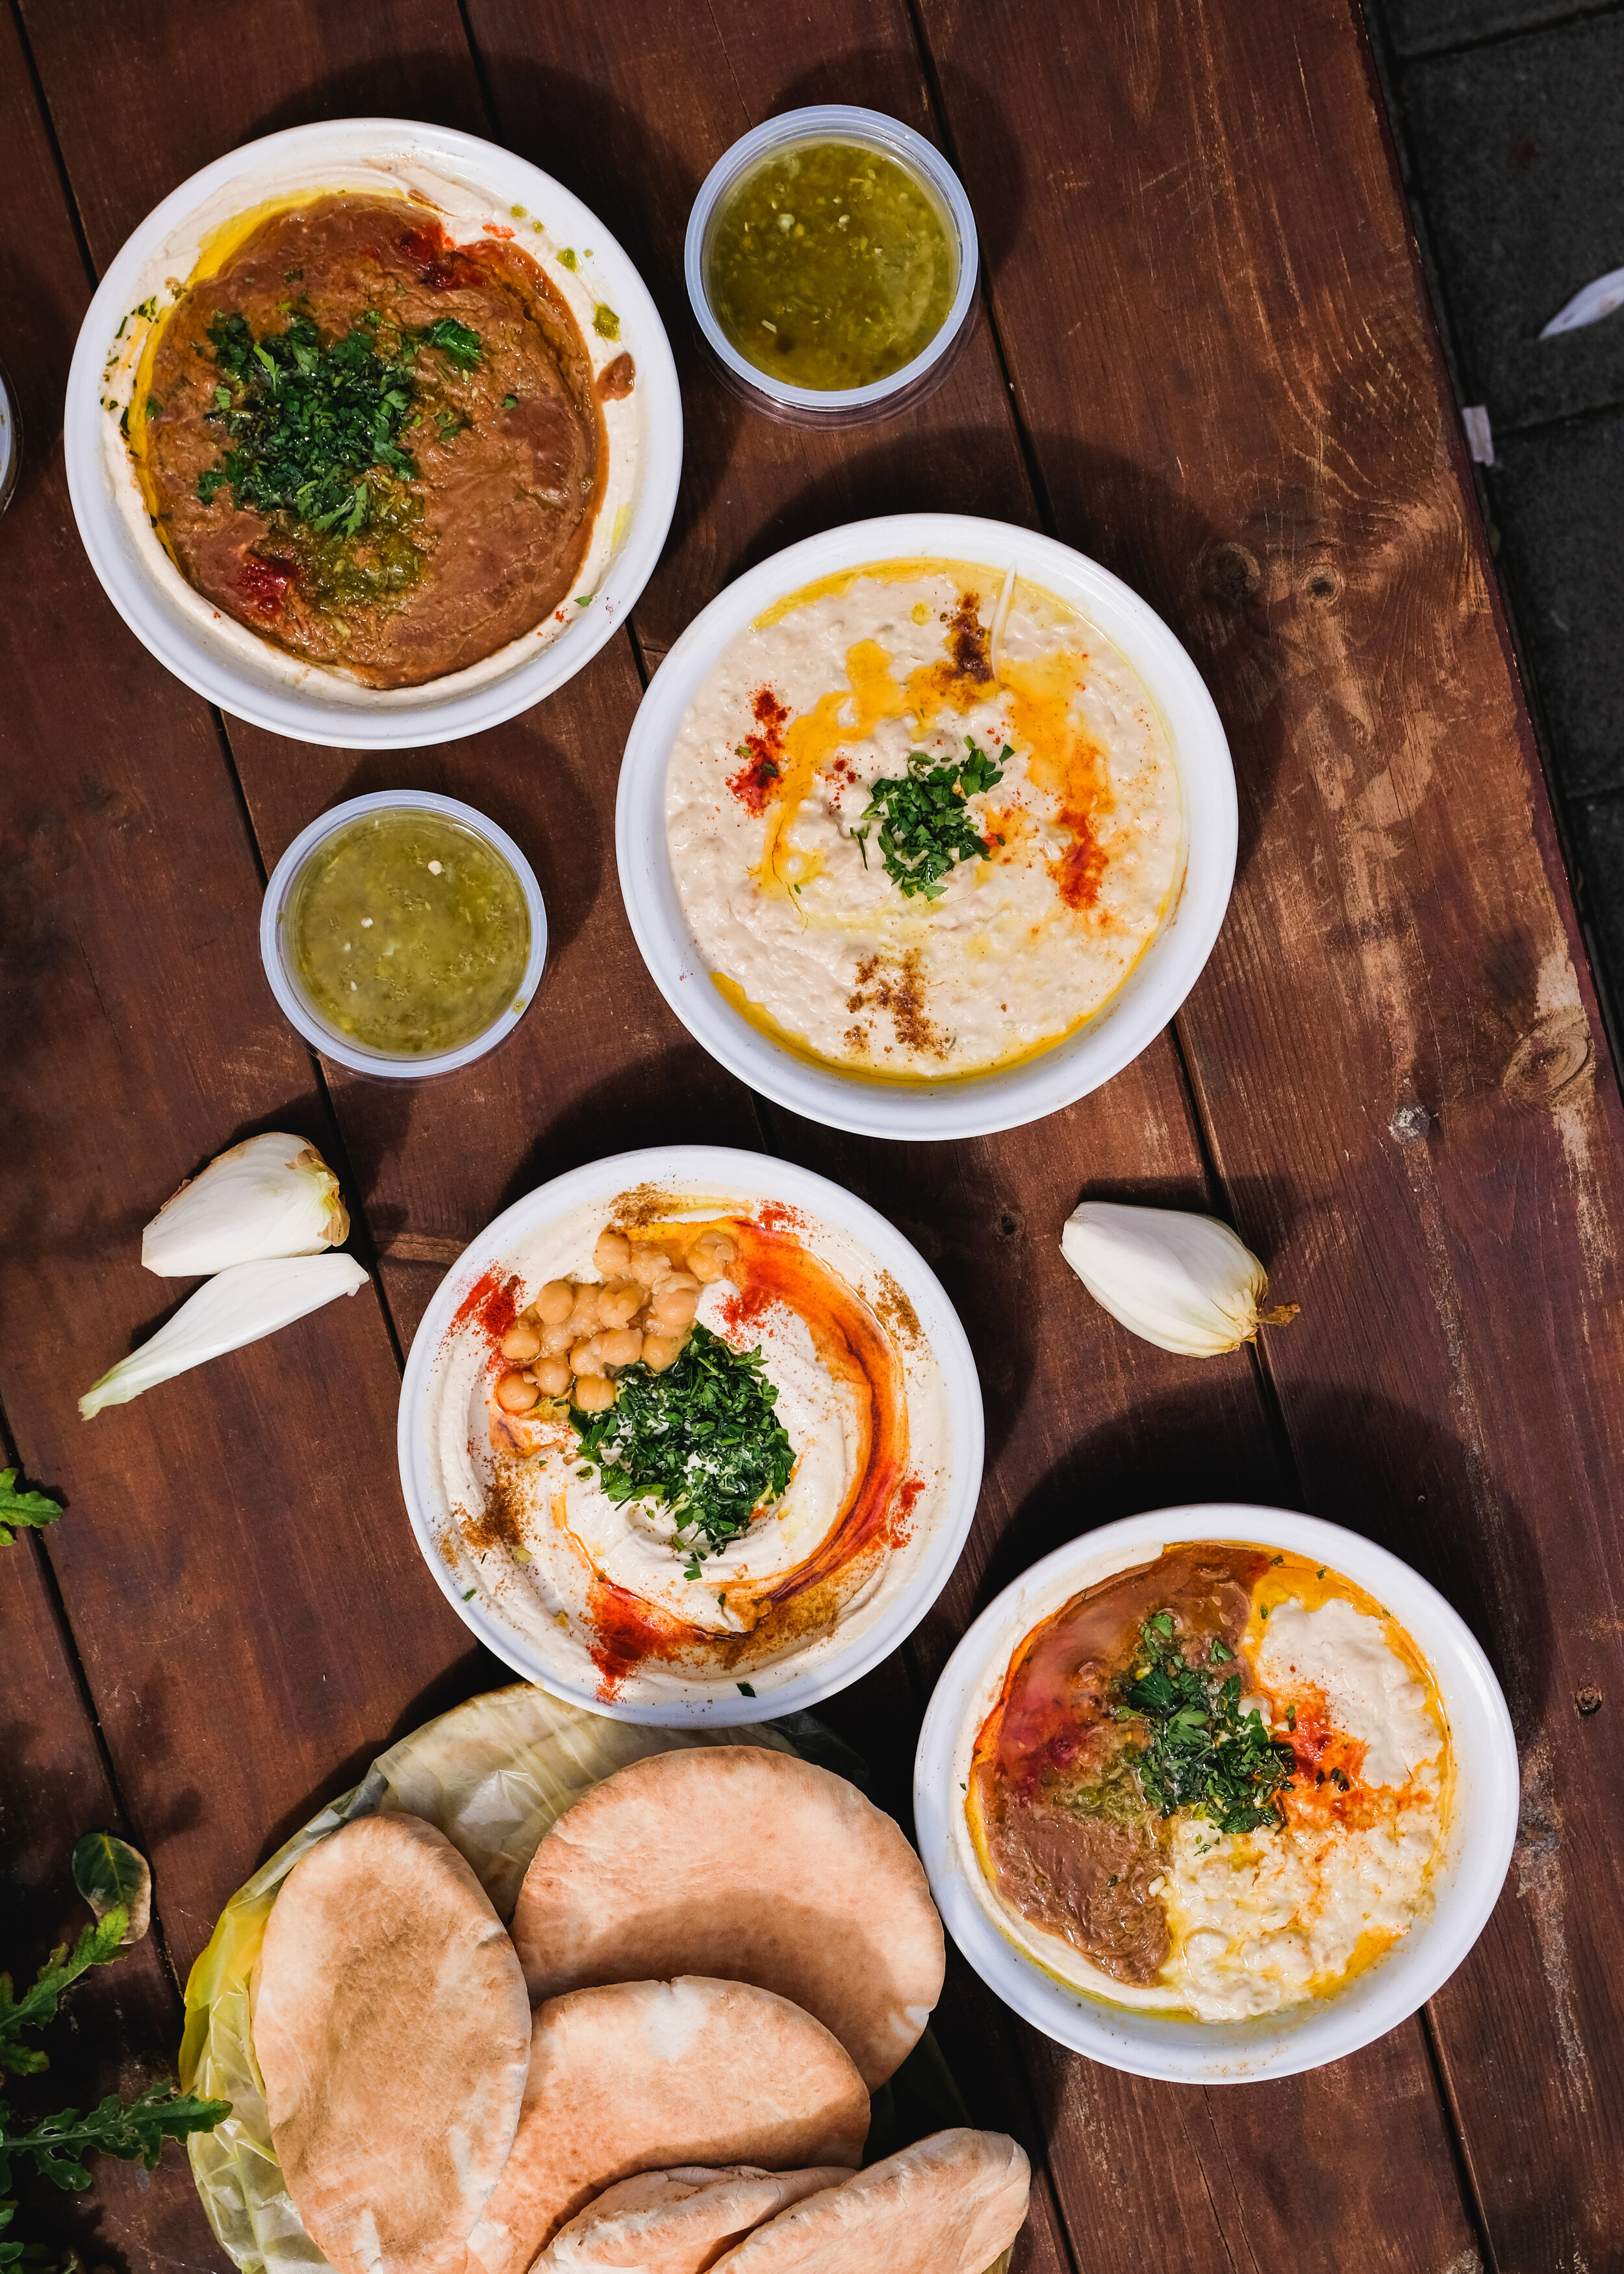
Hummus Abu Hassan
This is a legendary hummus place among Tel Aviv locals - and for a good reason! Their fresh pitas, different types of hummus and sides are all super good. I loved their classic hummus the most, but the chunky and lima bean ones were very delicious as well. And you have to try eating the hummus with raw onion - it might seem weird at first (definitely was for me) but you don’t actually taste the onion that much, you just get the crunch from it :)
PS. You can buy the hummus & extras to go and sit on the bench next to the restaurant, overlooking Old Jaffa buildings and the sea in the distance. So lovely!
Picture by Anett Velsberg
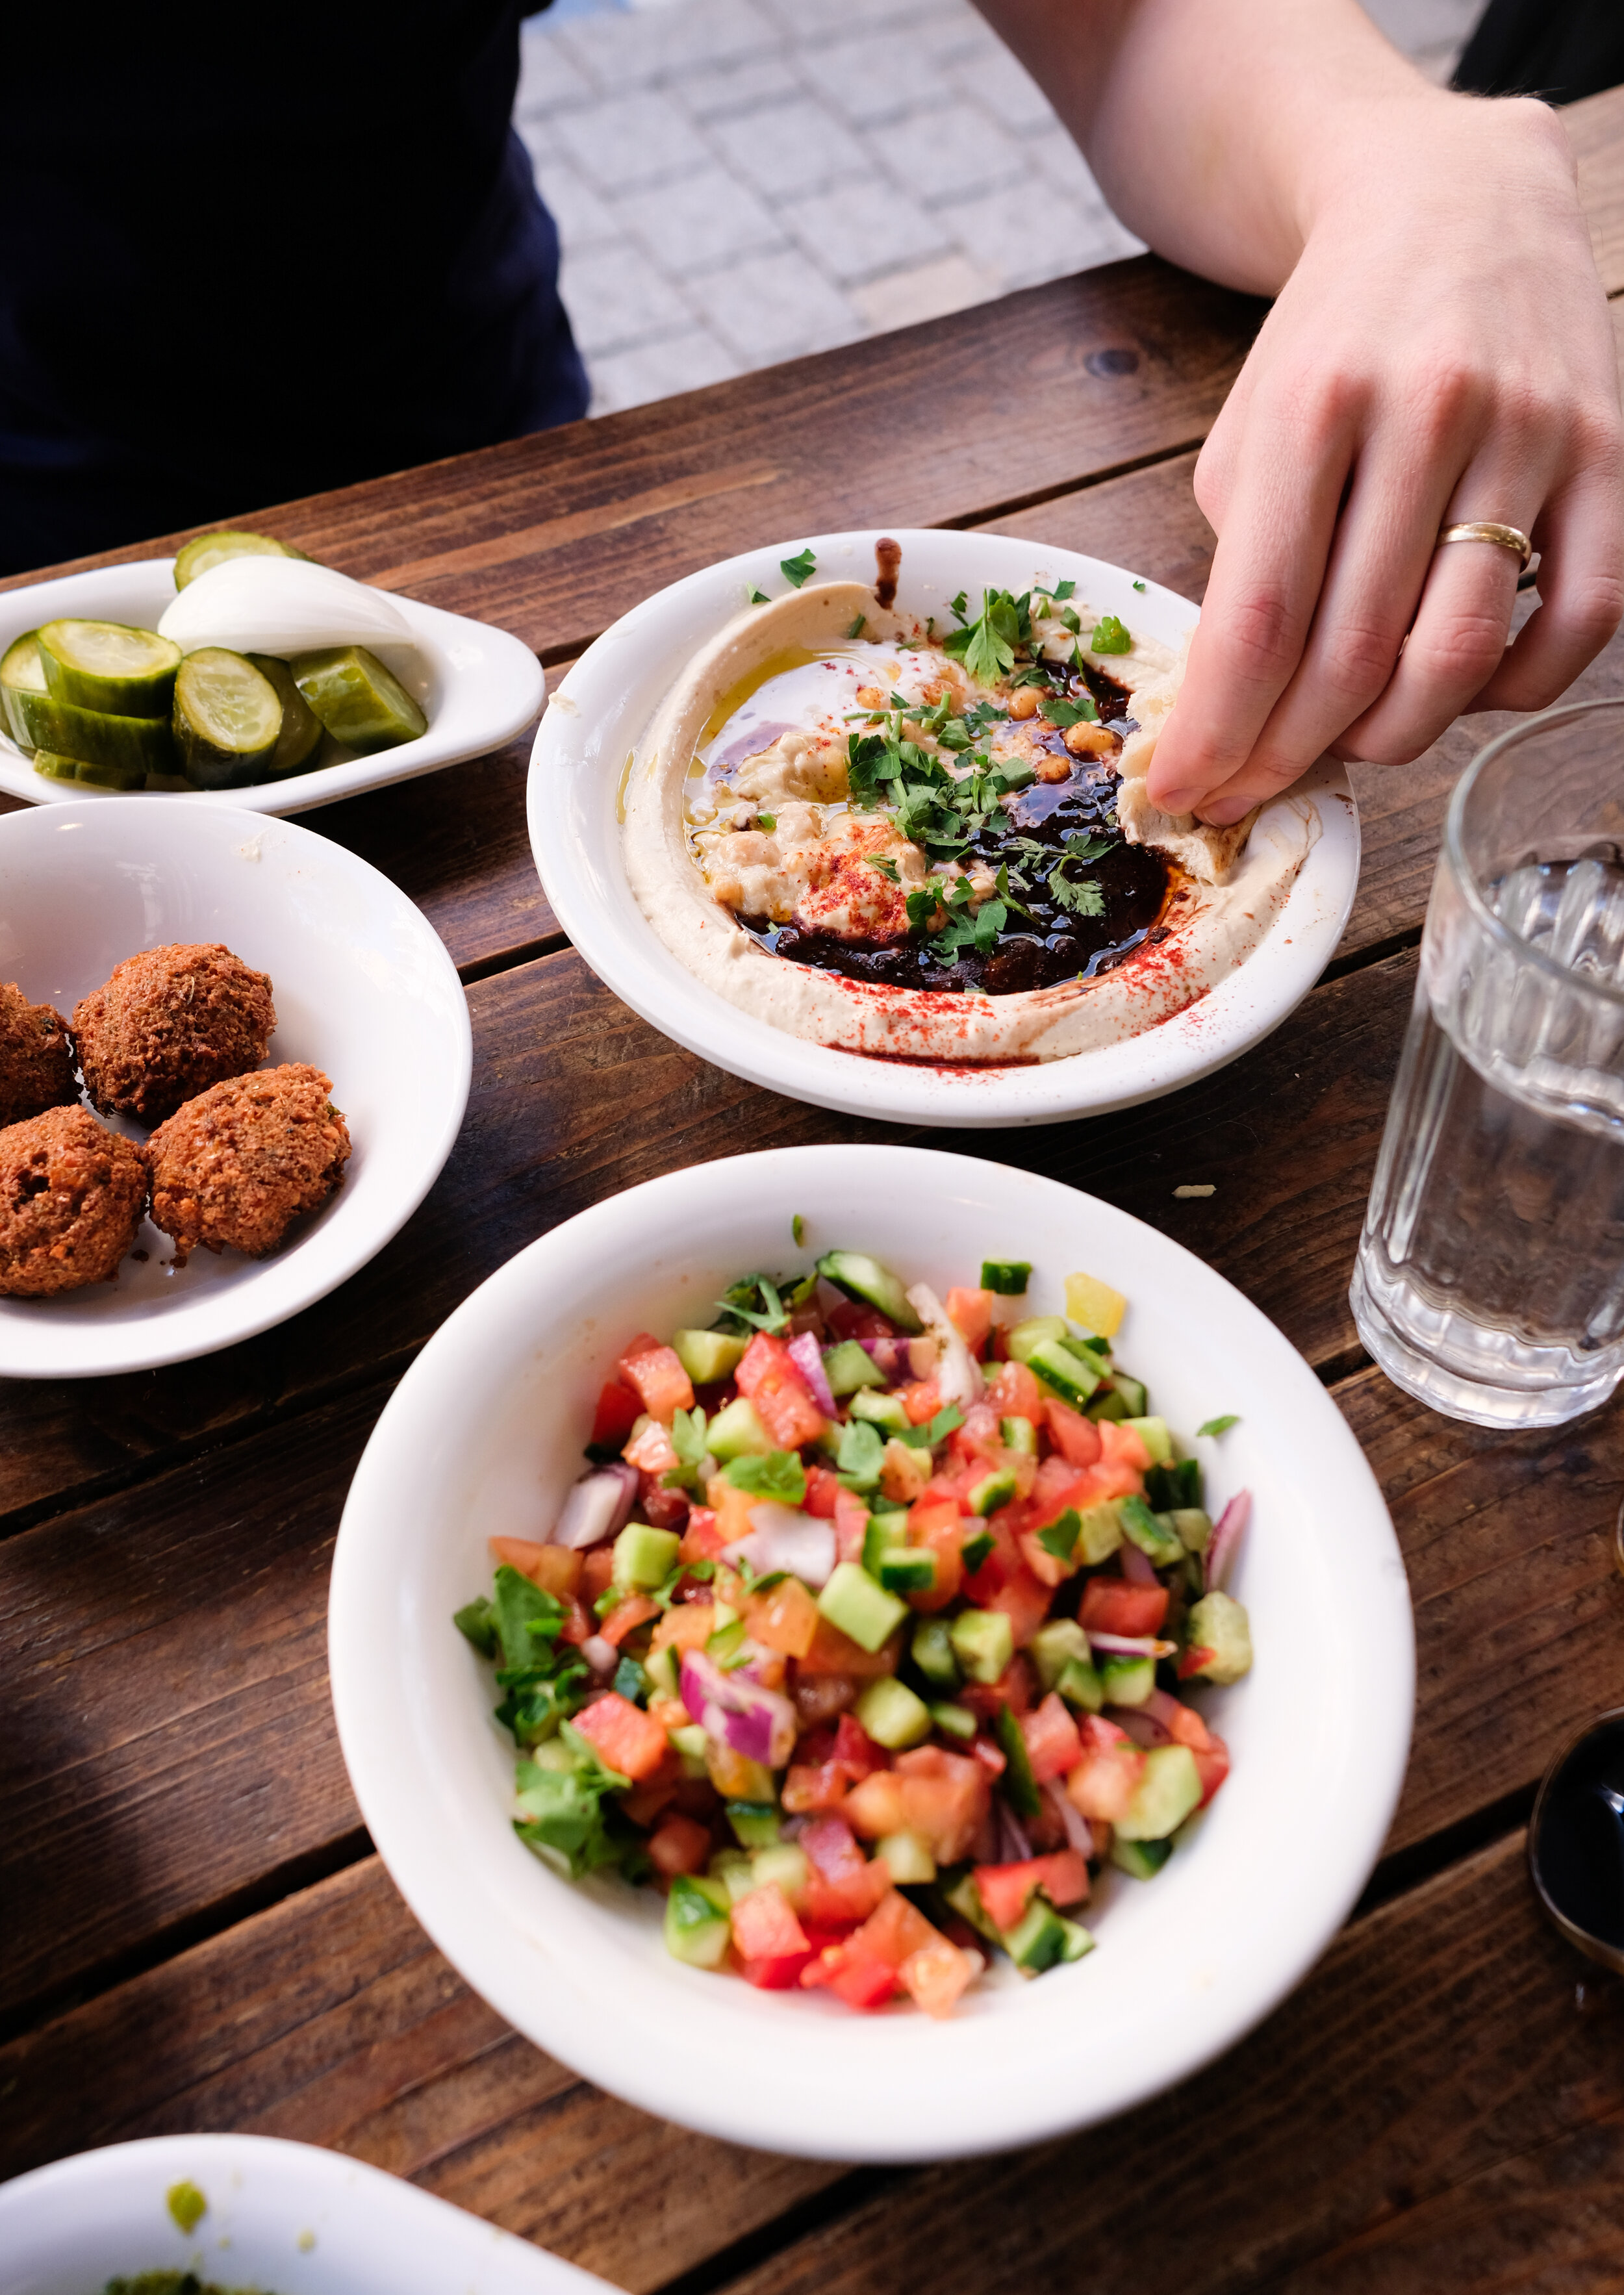
Hummus and Co. / חומוס ושות’
This quaint restaurant in Florentine is definitely worth a visit. Their falafels were the crispiest and lightest that I’ve ever tasted, which is why I’d go back there is a heartbeat. Their hummus, pickles and salads were also very tasty and the food itself was relatively inexpensive. The place had a huge line outside so it is obviously popular among locals too.
Picture by Anett Velsberg
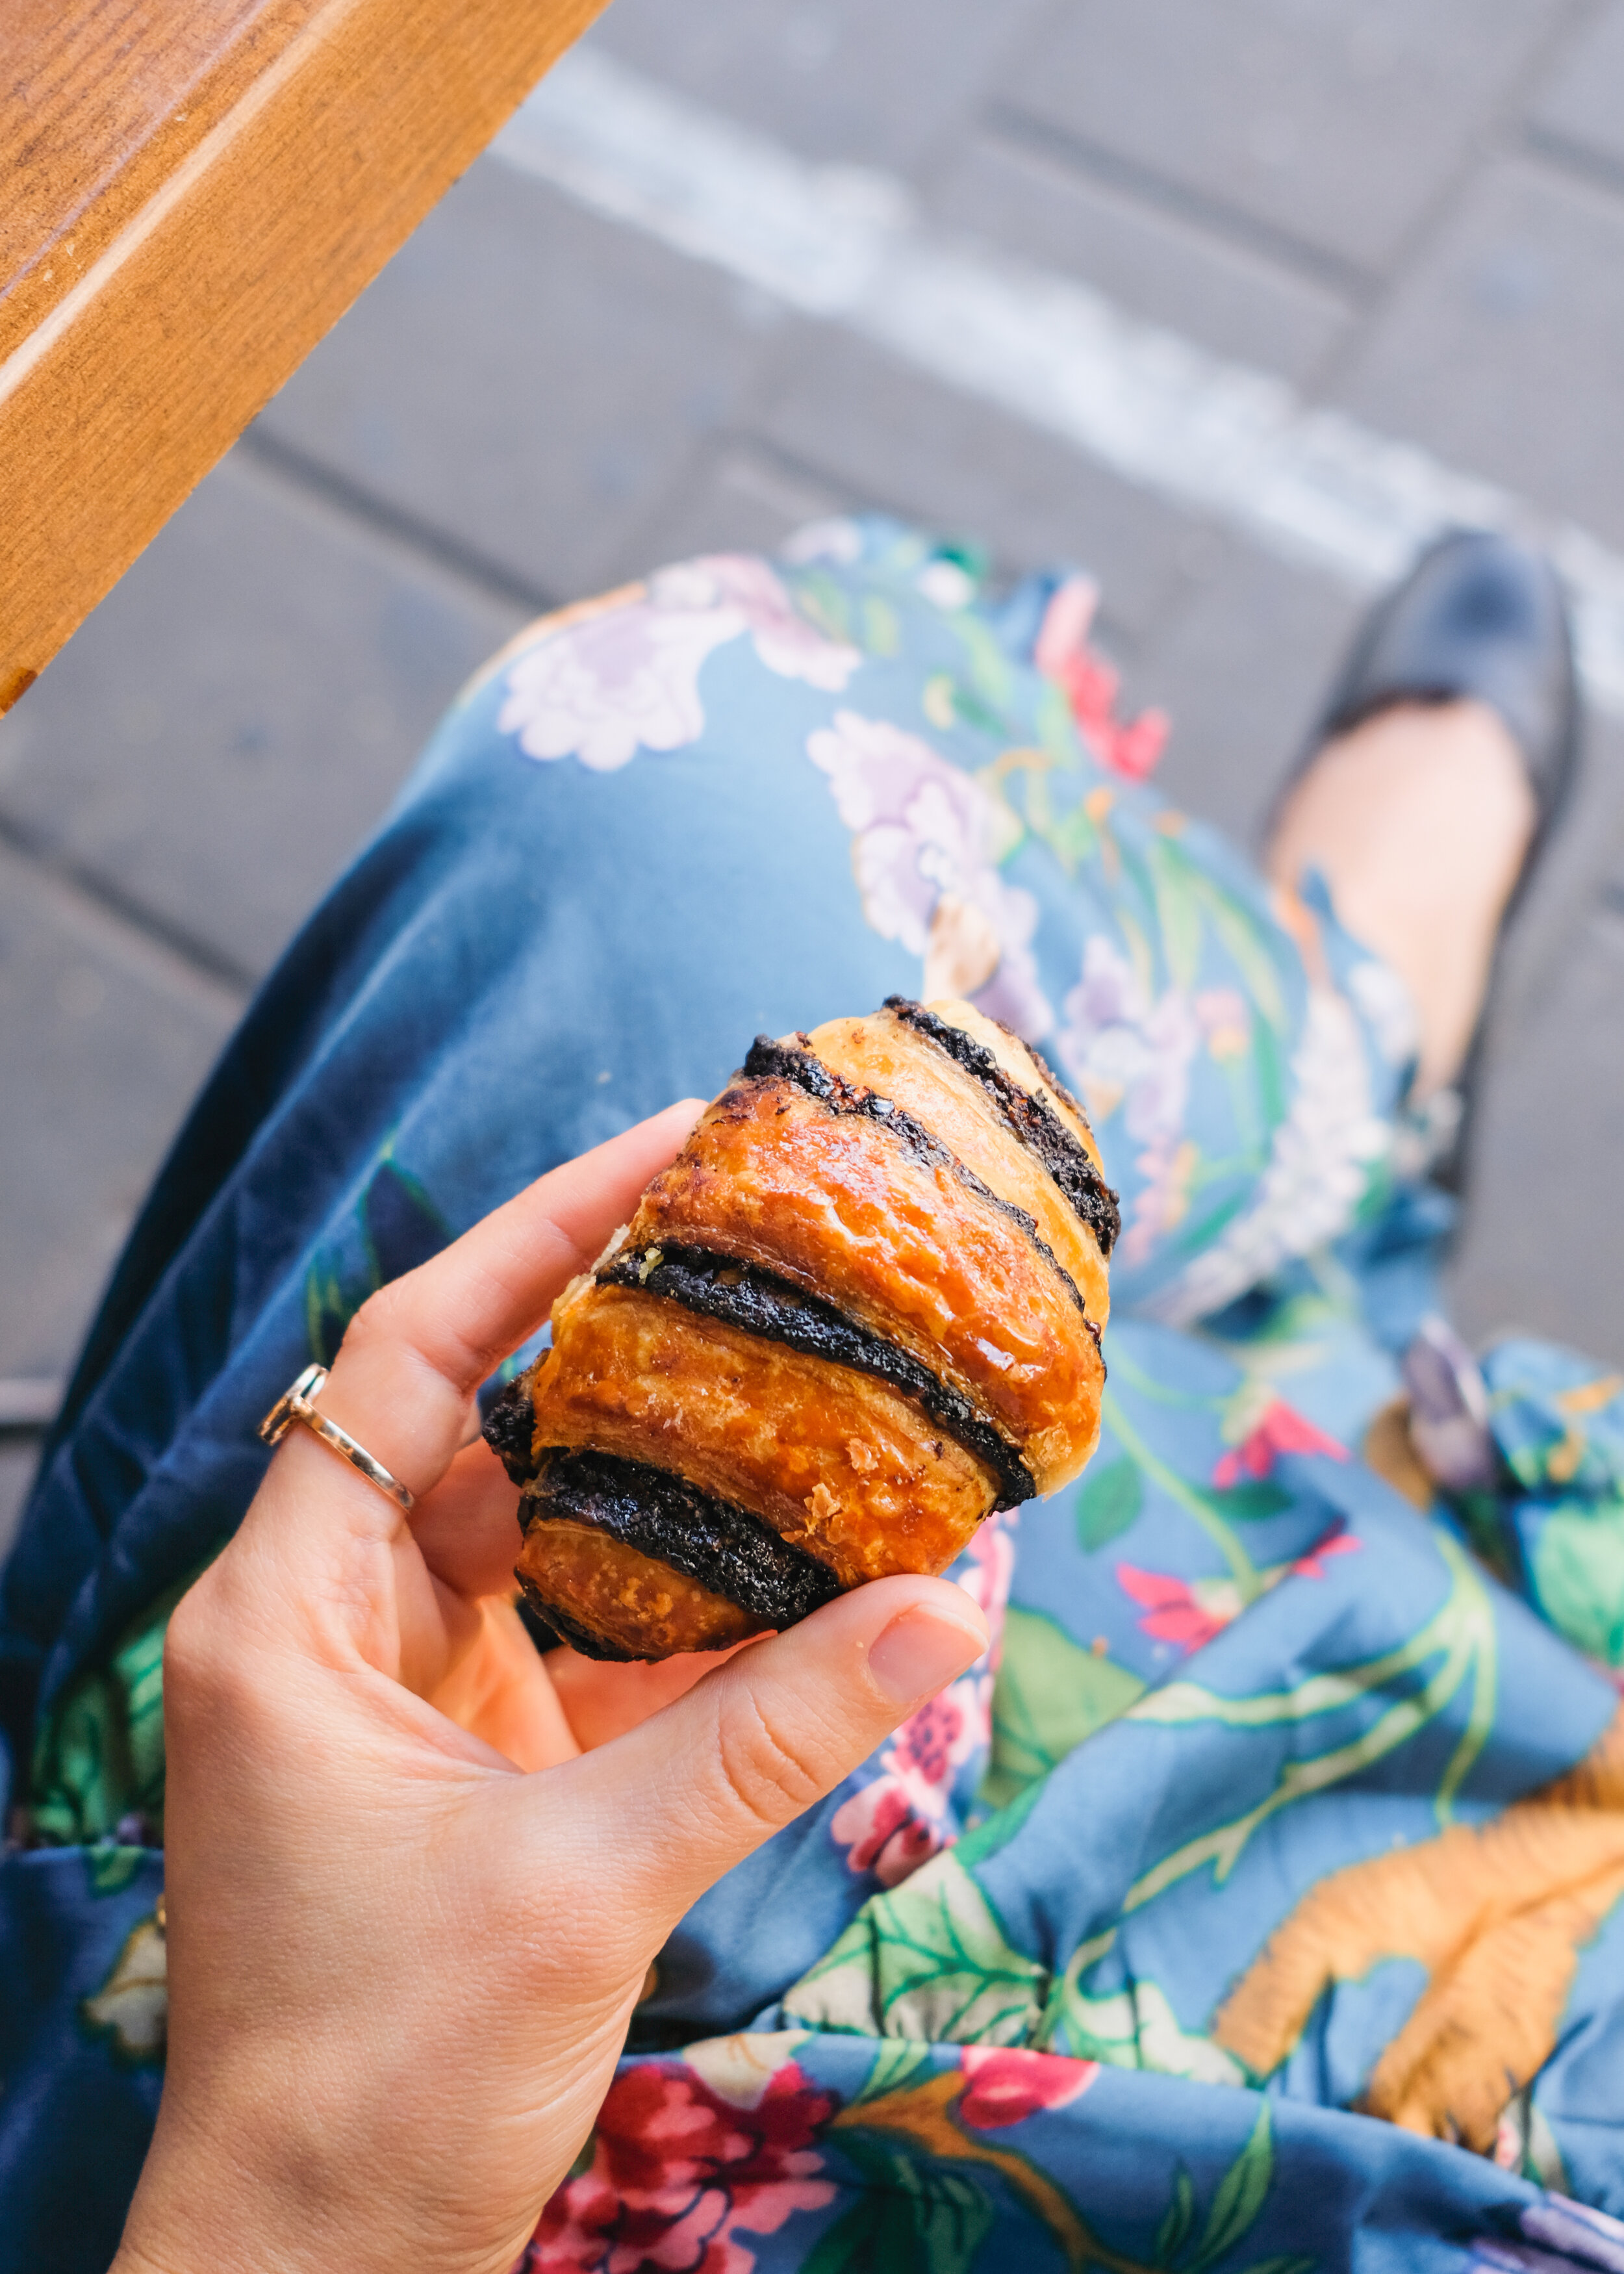
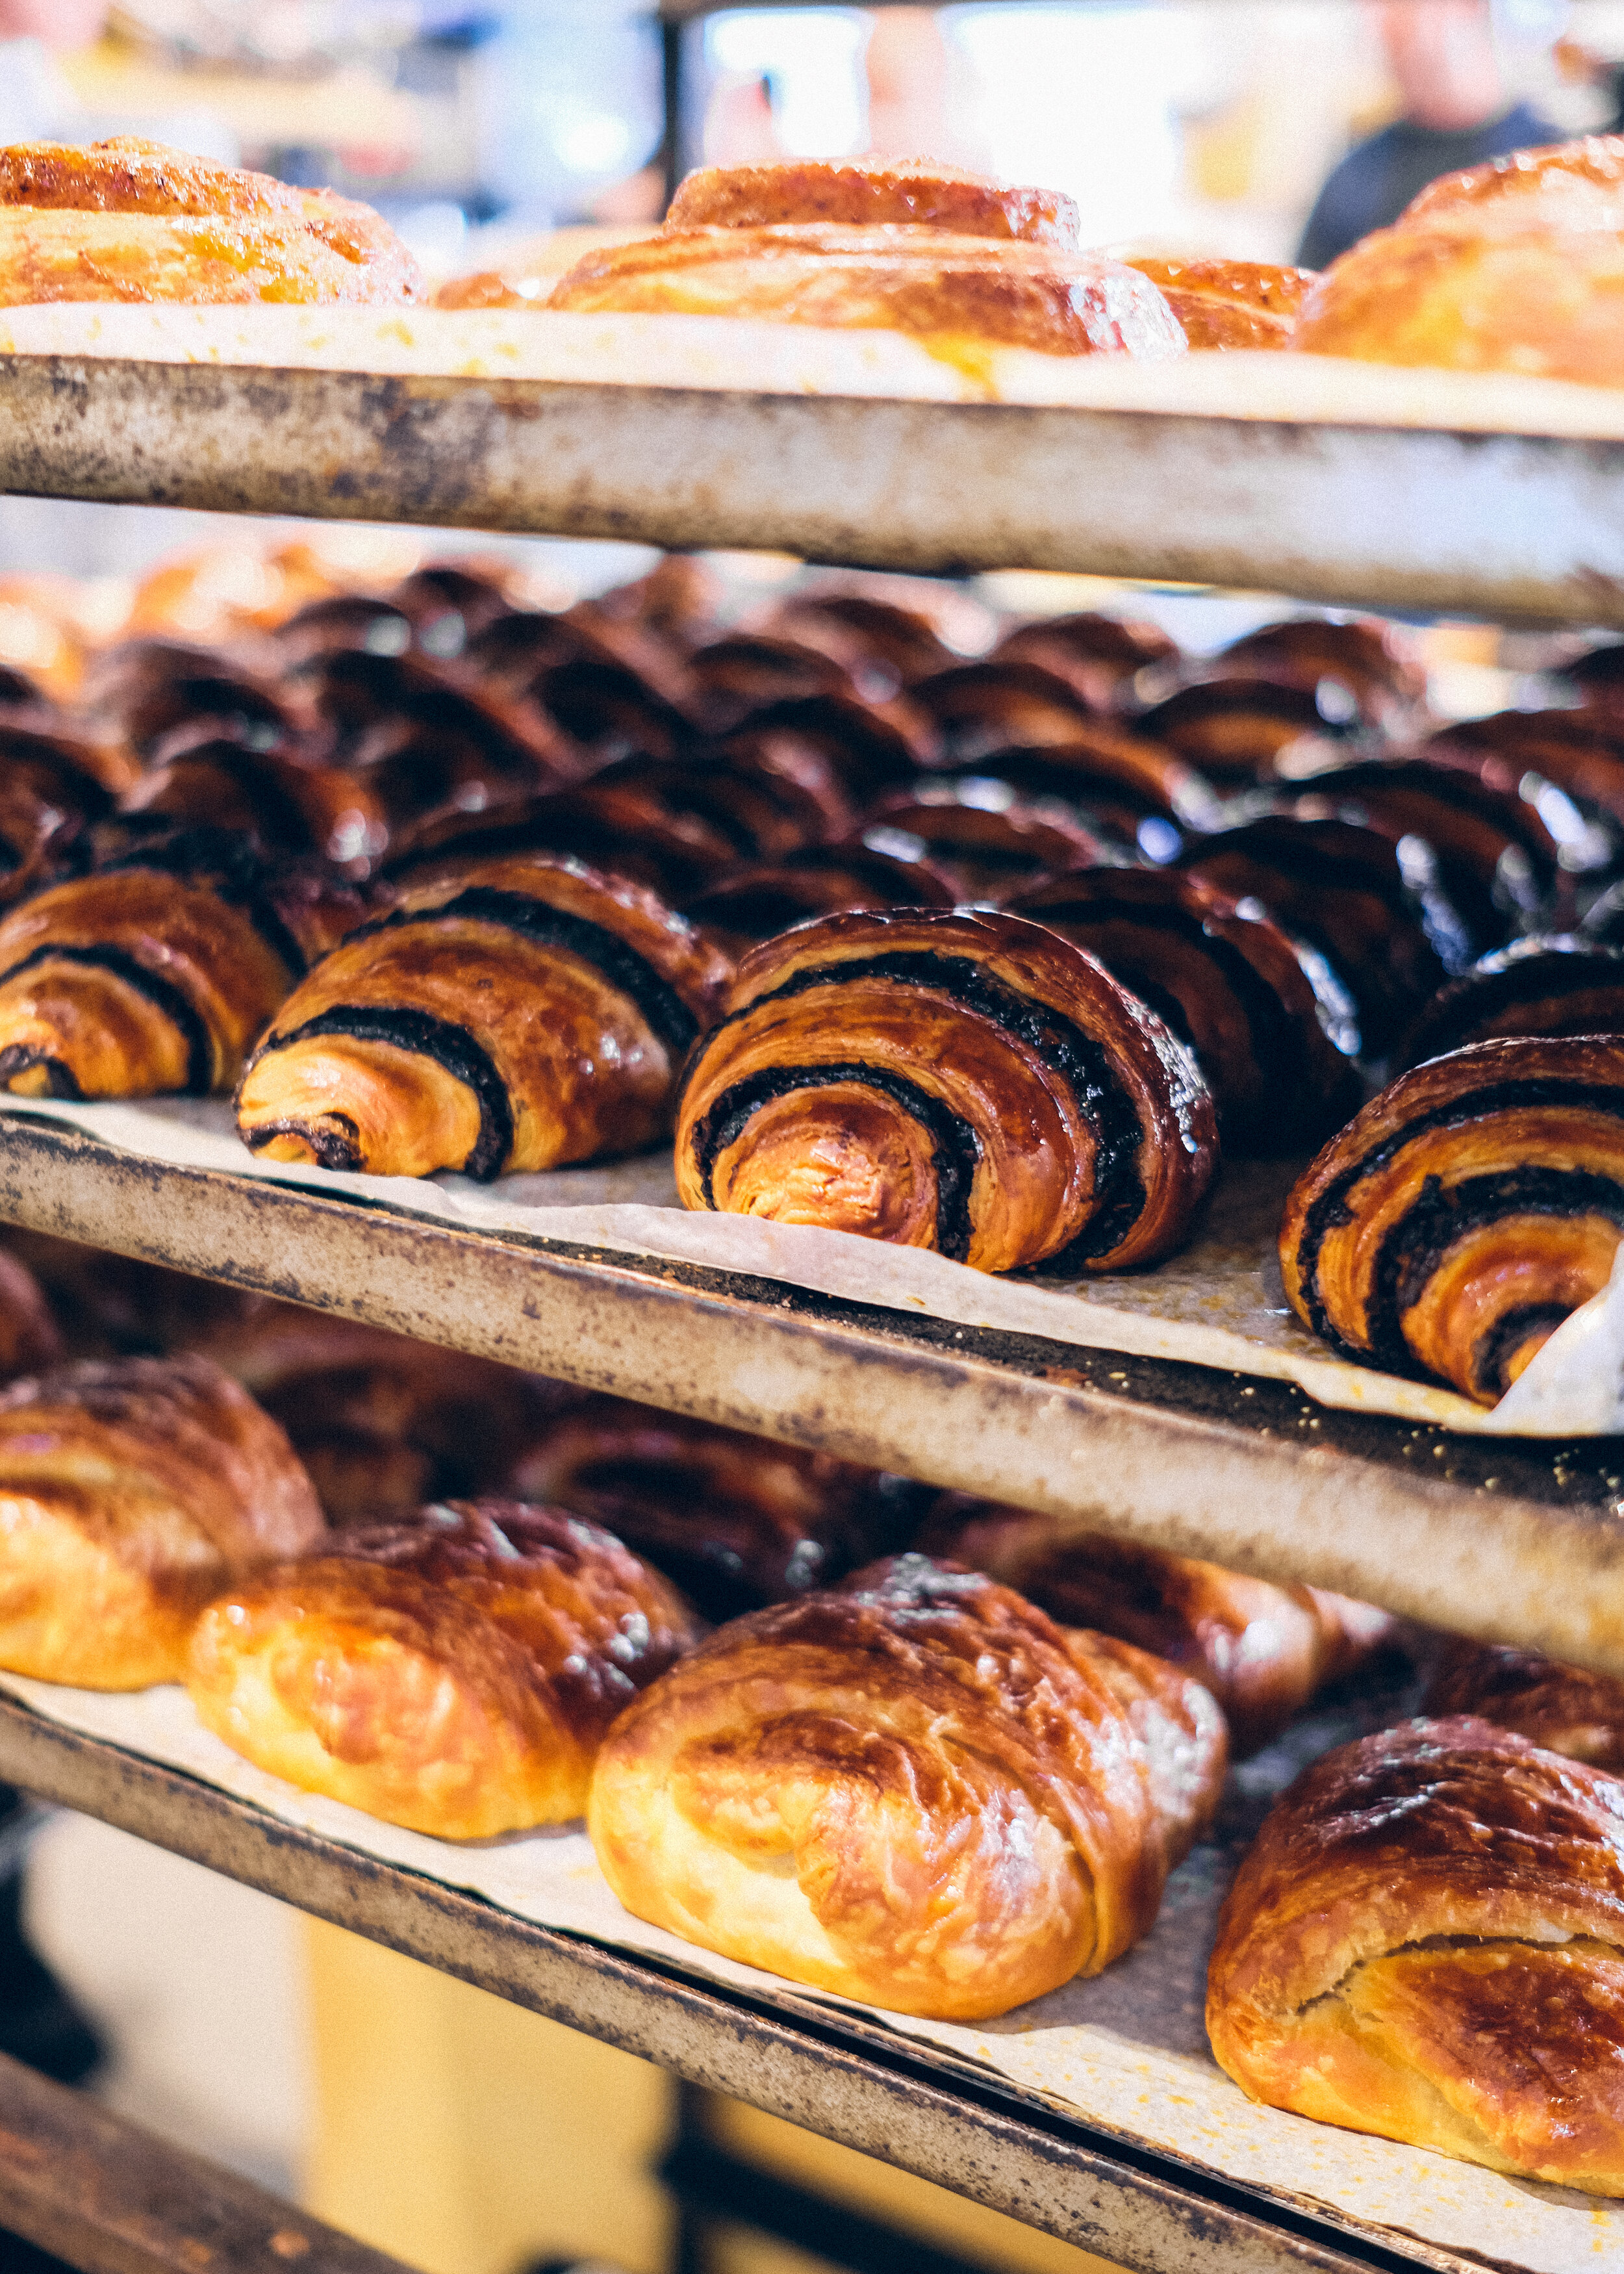
The Hebrew Bakery / המאפיה
We stumbled upon to this bakery completely by luck. They have a huge selection of vegan pastries - both sweet and savoury - and they are baked fresh throughout the day.
My favourite from the sweet ones was the rugelach (it was the only vegan one I saw during my time in Israel) but their jam - and halva-filled pastries were amazing too. From the savoury options I loved the vegan schwarma pastry - it had a bit of curry powder in it that made it very unique. Since our Airbnb was near this bakery, then we ended up coming here every morning for a coffee and a pastry. Heavenly!
Hamalabiya
A trip to Israel isn’t complete without a taste of their classic dessert - the malabi. It’s a creamy custard topped with rose syrup and crunchy bits, the perfect combination of Middle Eastern flavours and textures.
Hamalabiya has multiple restaurants around the city dedicated to this dreamy dessert (which they make completely vegan) but I also recommend trying the warm cinnamon-y custard called Sachlev (only served during winter) and their rose-flavoured beer, which is only sold on the spot.

Picture by Amir Menahem
Leggenda Ice Cream
Last but not least, I had to include an ice cream place in this list. Tel Aviv has very many ice cream shops that serve vegan scoops but I loved this one the most. They had a vegan ferrero rocher ice cream that tasted JUST LIKE THE REAL THING!
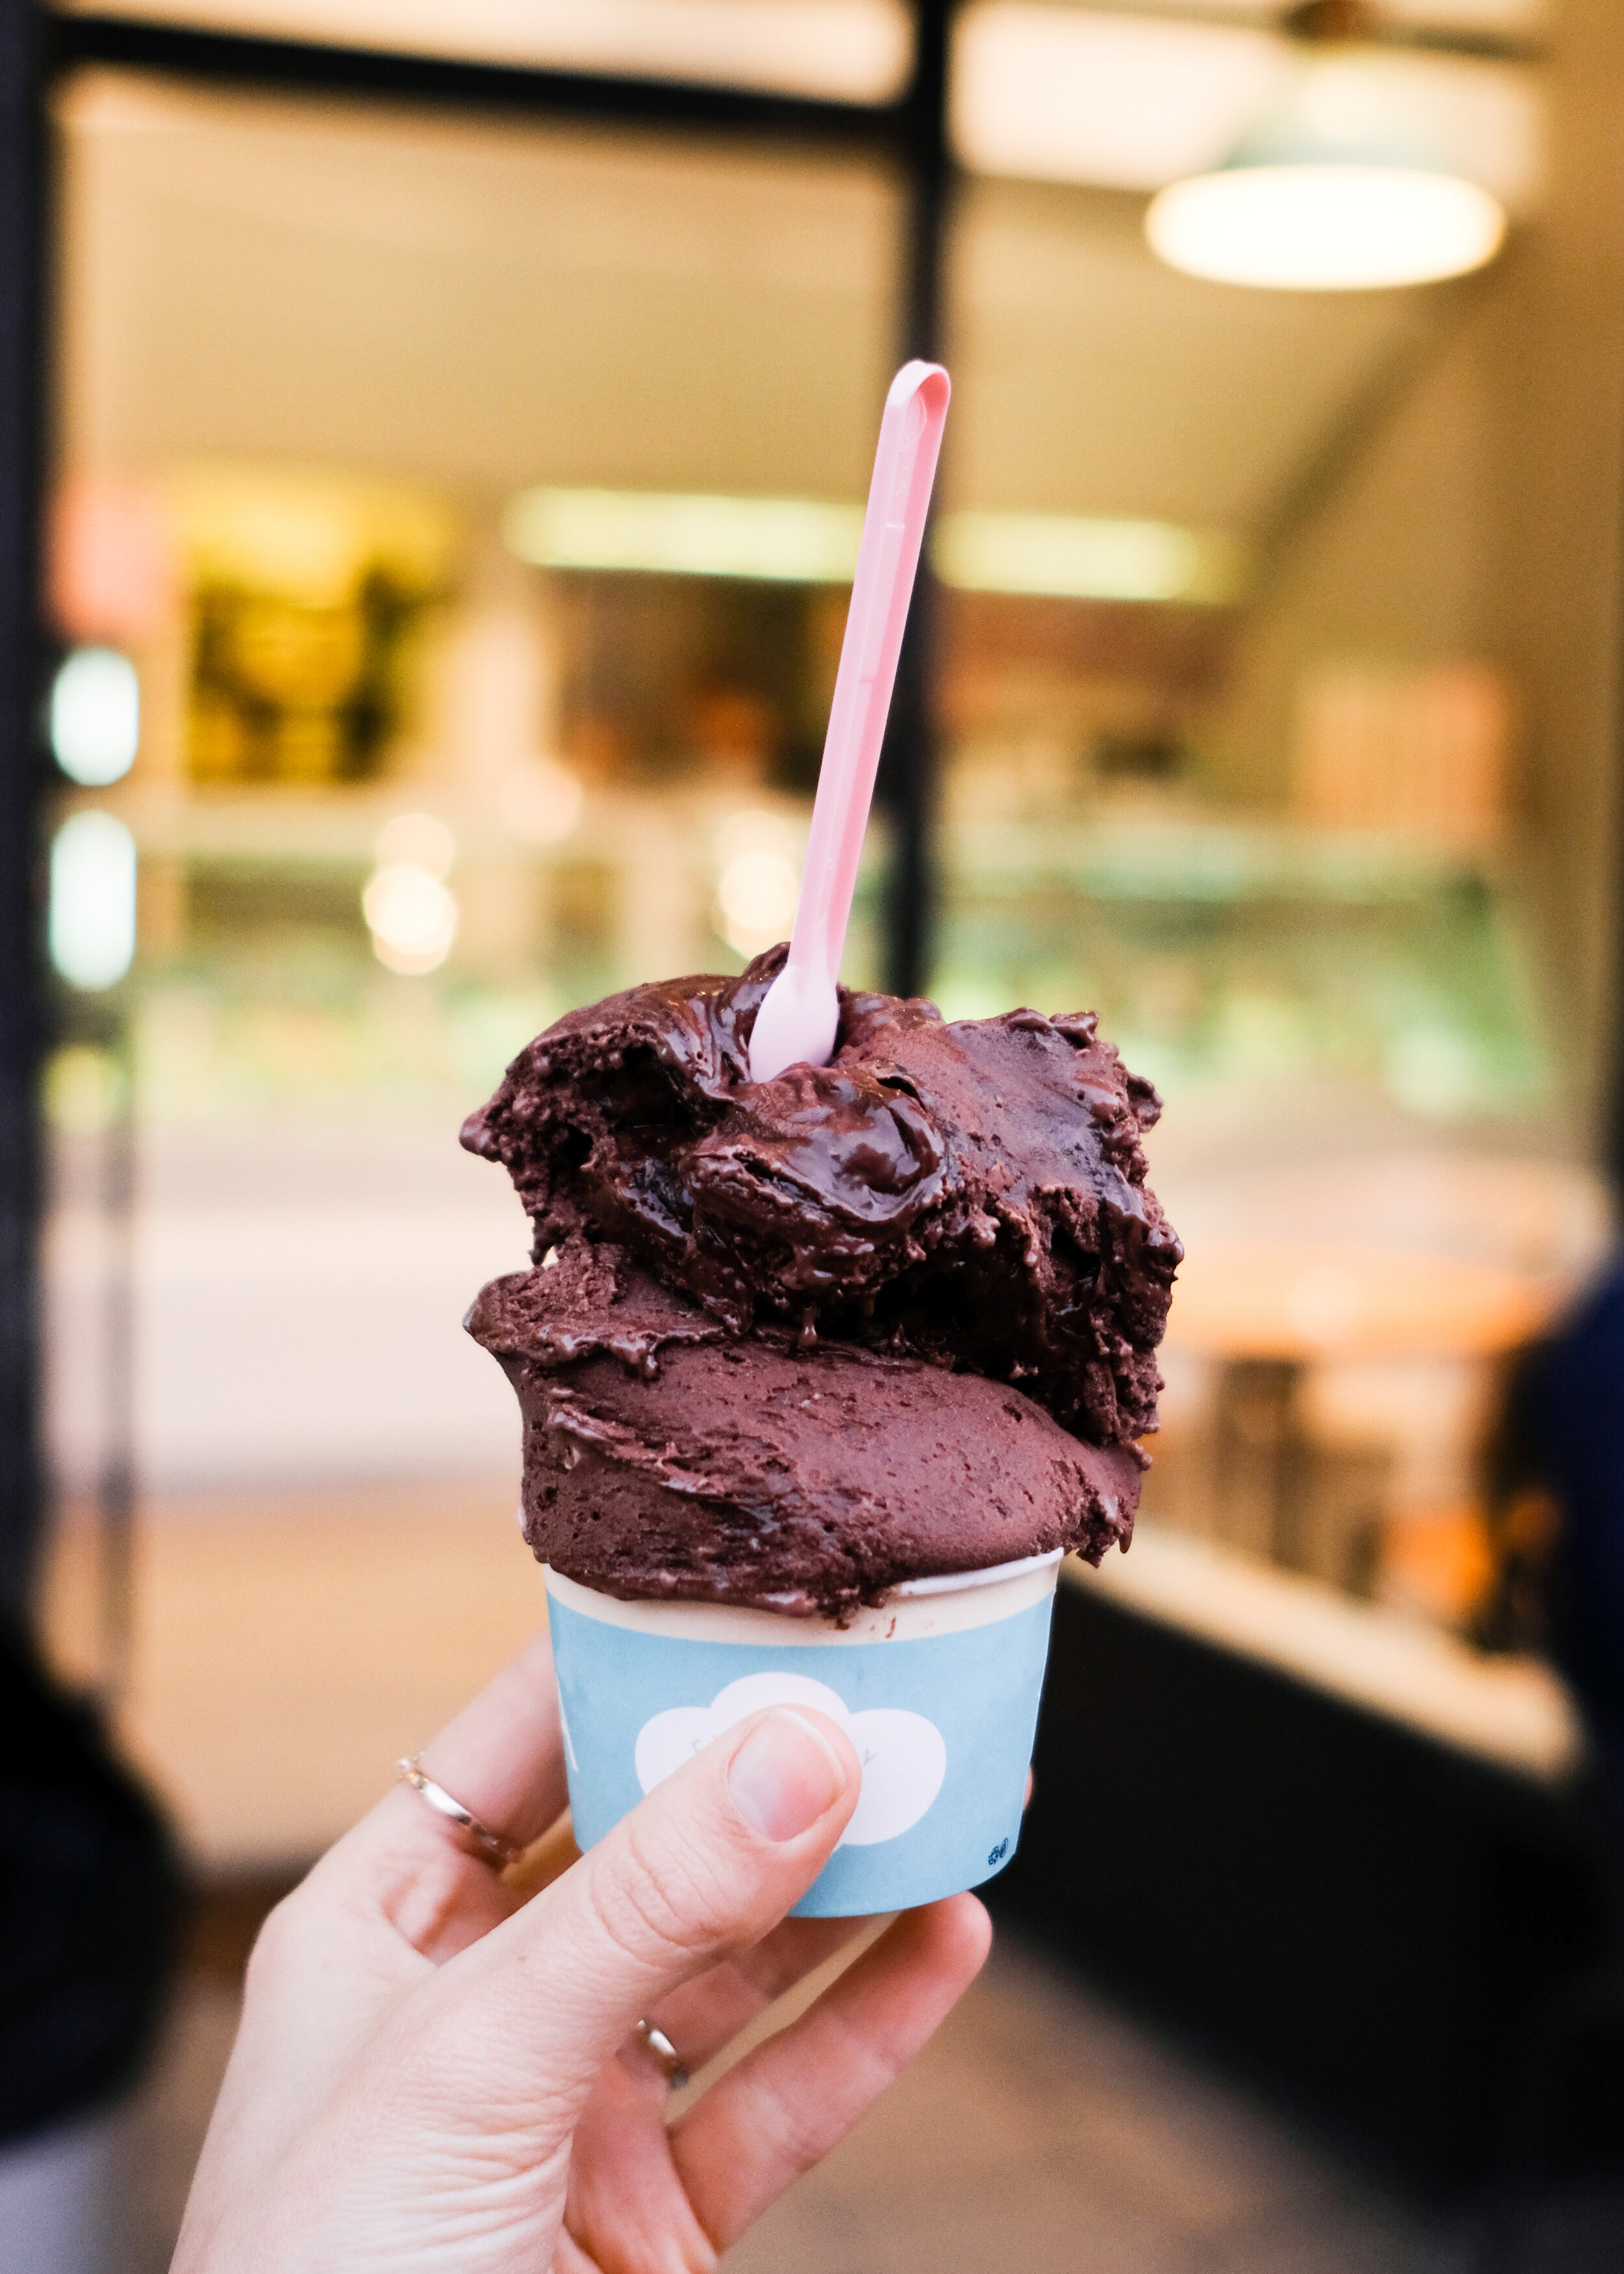
Photo by Anett Velsberg
There are so many great vegan restaurants in Tel Aviv that this list is definitely not complete. If you have more time in Tel Aviv, I really recommend visiting Dilek’s Turkish Bakery for the vegan boreks, Meshek Barzilay and Anastasia for tasty vegan food and Zakaim for their hand-torn fried potatoes (among other things).
I am so thankful for Vibe Israel for inviting me out there to experience their amazing food scene. They organize very interesting tours throughout the year so make sure you check out their instagram to keep up with what they’re doing!